
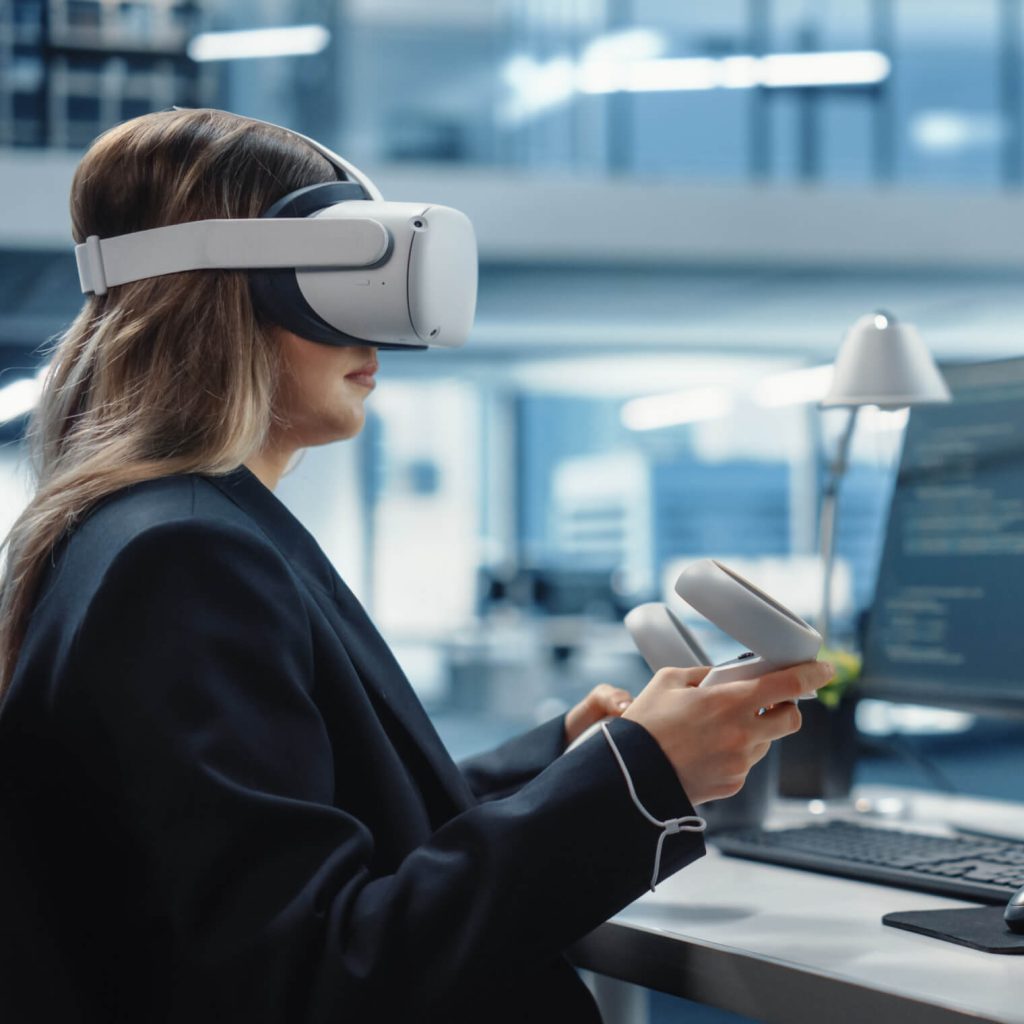
The Game-Changing Nature of AR Safety Training
R&D
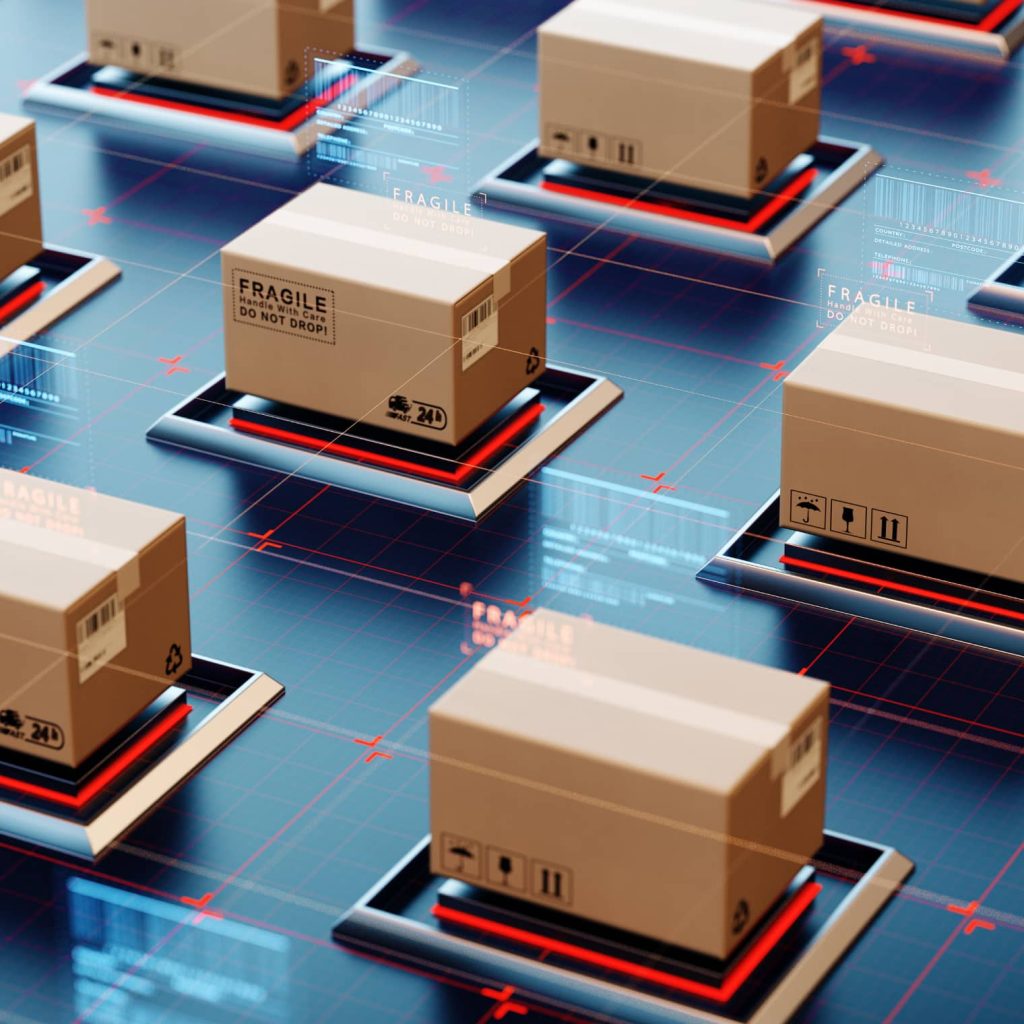
AI in Supply Chain: A Real-world Case Study on Harnessing AI’s Potential
R&D

Nachhaltige Lösungen: Green Software Engineering aus der Sicht eines Mobile Engineers
R&D

IPFS-Tutorial: Aufbau eines privaten IPFS-Netzwerks mit IPFS-Cluster zur Datenreplikation
R&D
Sustainable Solutions: Green Software Engineering from a Mobile Engineer’s Perspective
R&D

E-commerce Tech Trends: Reinforcement Learning for Dynamic Pricing
R&D

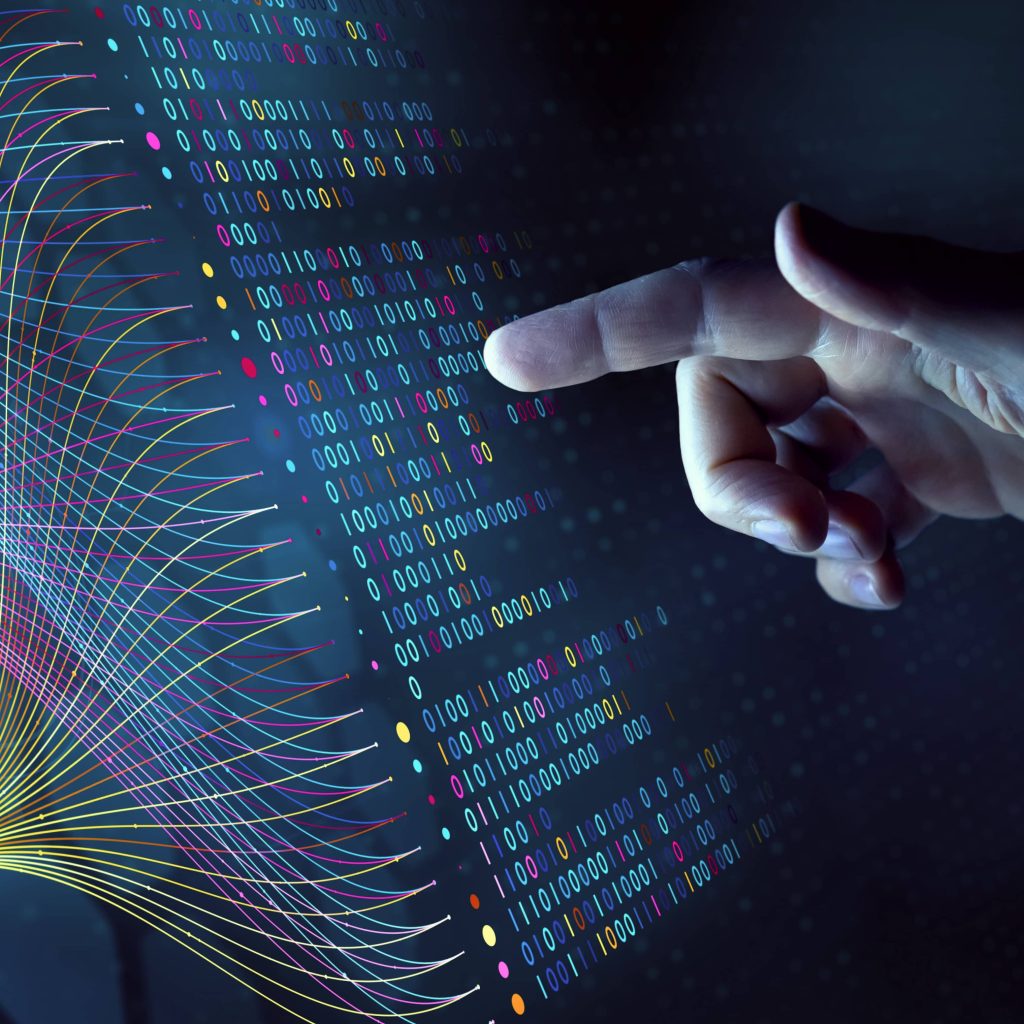
Deep Learning for Damage Detection Using Satellite Images
R&D

E-commerce Best Practice Part 2: Speed up Magento 2 Performance via Disabled Modules
R&D

E-commerce Best Practice Part 1: Optimise Magento 2 Performance with Caching
R&D

How to Improve E2E Testing for Web Apps with Playwright Automation
R&D

Playwright vs Cypress: Which Framework to Choose For E2E Testing?
R&D
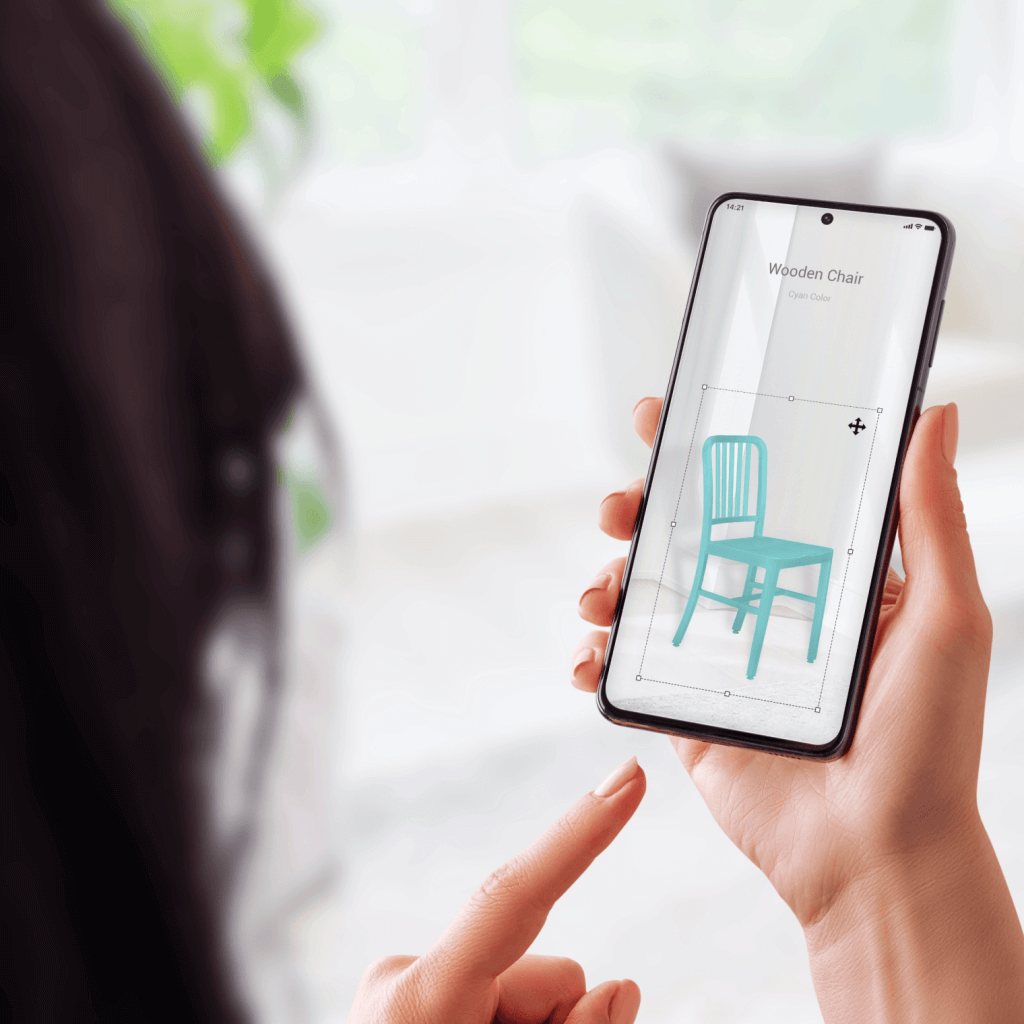
Why And How to Adopt Augmented Reality in Retail
R&D
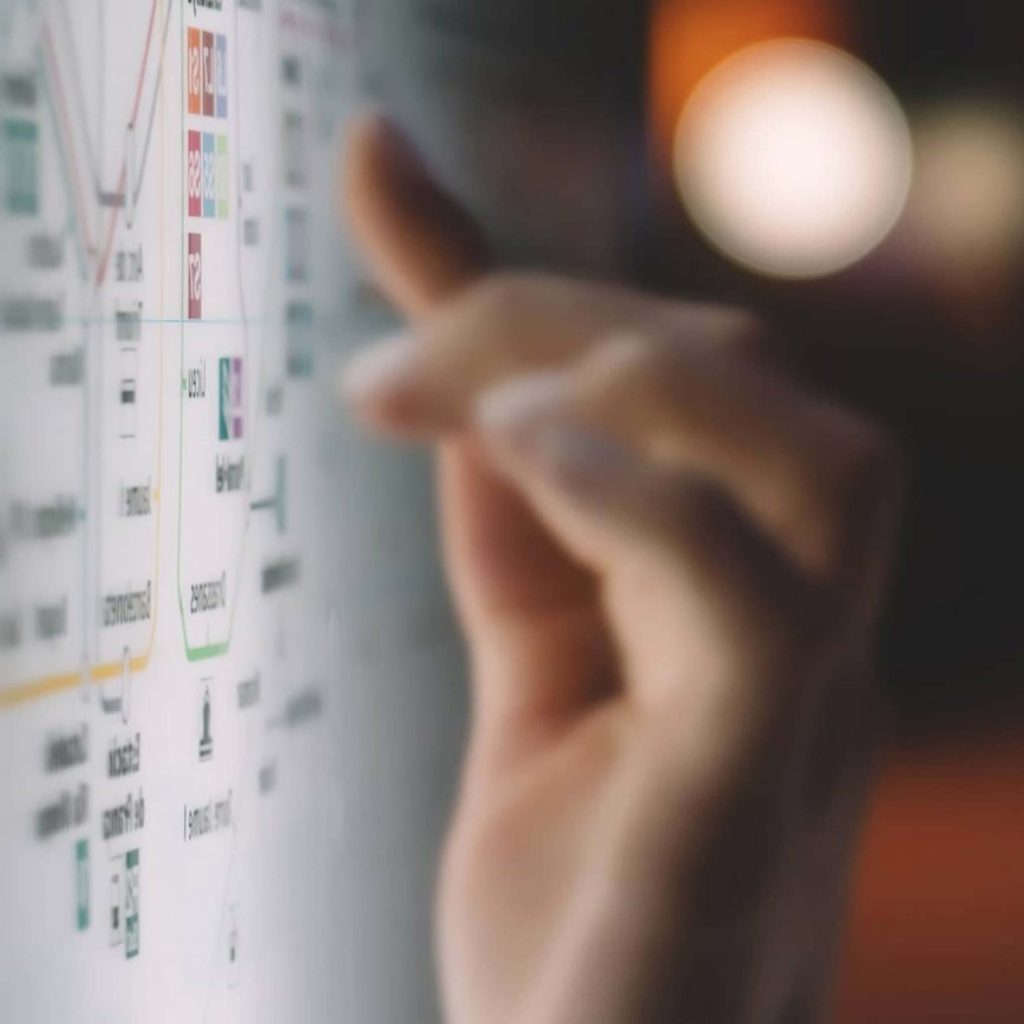
The Data Science Project Life Cycle Explained
R&D

Rendering Engines and Their Role in Automated Web Application Testing
R&D
Exploring the Potential of Metaverse With Our Meta Art Gallery Prototype
R&D
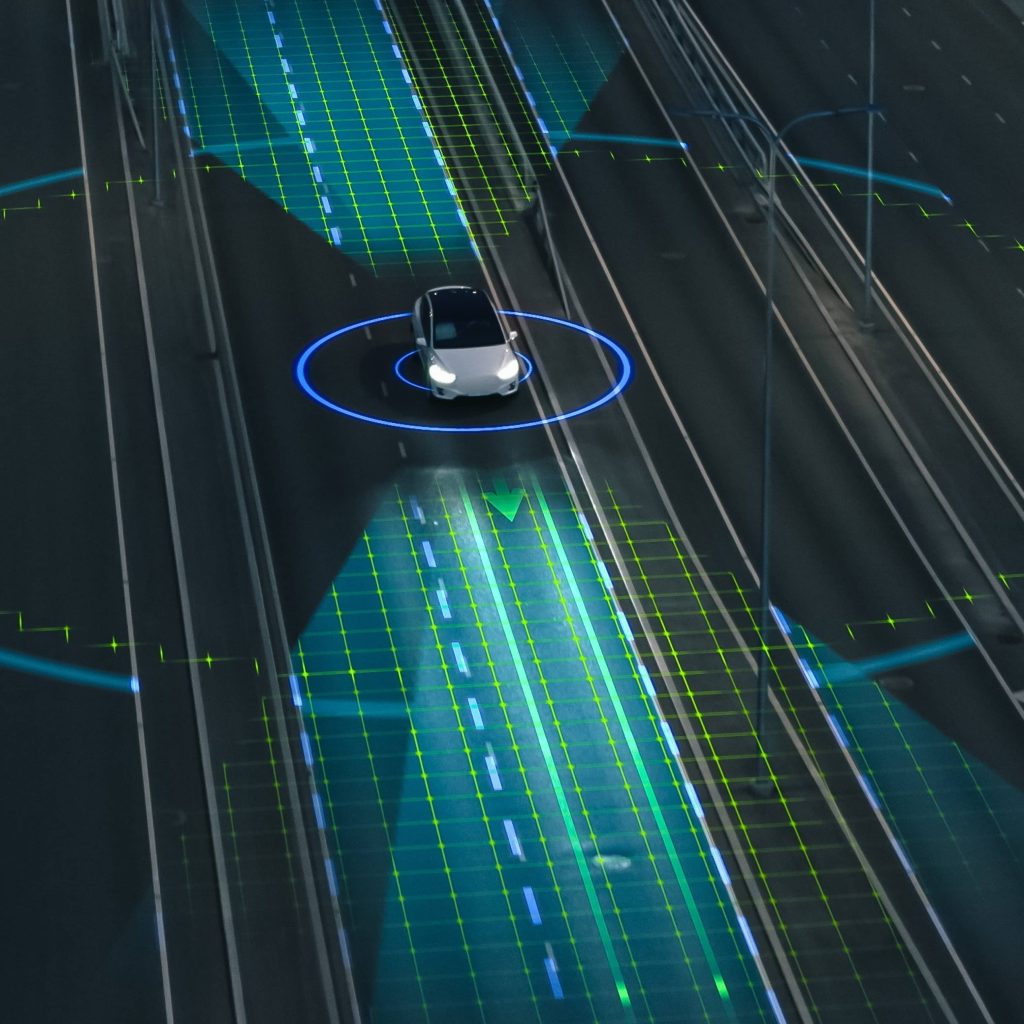
Deep Learning for Autonomous Driving: A Breakthrough in Urban Navigation
R&D

Corda vs Hyperledger Fabric: Comparing Distributed Ledger Frameworks
R&D

Drawing Attention to Climate Change With Interactive Generative Art
R&D
IPFS Tutorial: Building a Private IPFS Network with IPFS-Cluster for Data Replication
R&D

Azure vs AWS comparison: Which Works Best for Serverless Architecture?
R&D

Neural Machine Translation With Attention Mechanism: Step-by-step Guide
R&D

The Executive’s Guide to Enterprise Application Integration
R&D
How to Craft a Better UX Design for Blockchain
R&D

The Best Practices for Building Successful Enterprise Mobile Apps
R&D

Mobile Test Automation with Appium: a Brief Framework Overview Addressing Common QA Pain Points
R&D

A Pragmatic Look at Digital Tokens
R&D

Using Node-RED Library to Wire Telemetry Data from IoT Devices to the Cloud
R&D

Building a Mobile Strategy with Xamarin: Win or Loss?
R&D

Secure Document Transfer Built on Top of Blockchain Technologies
R&D
Designing Apparel with Neural Style Transfer
R&D
Choosing the Tools to Build Your Next VR Application
R&D
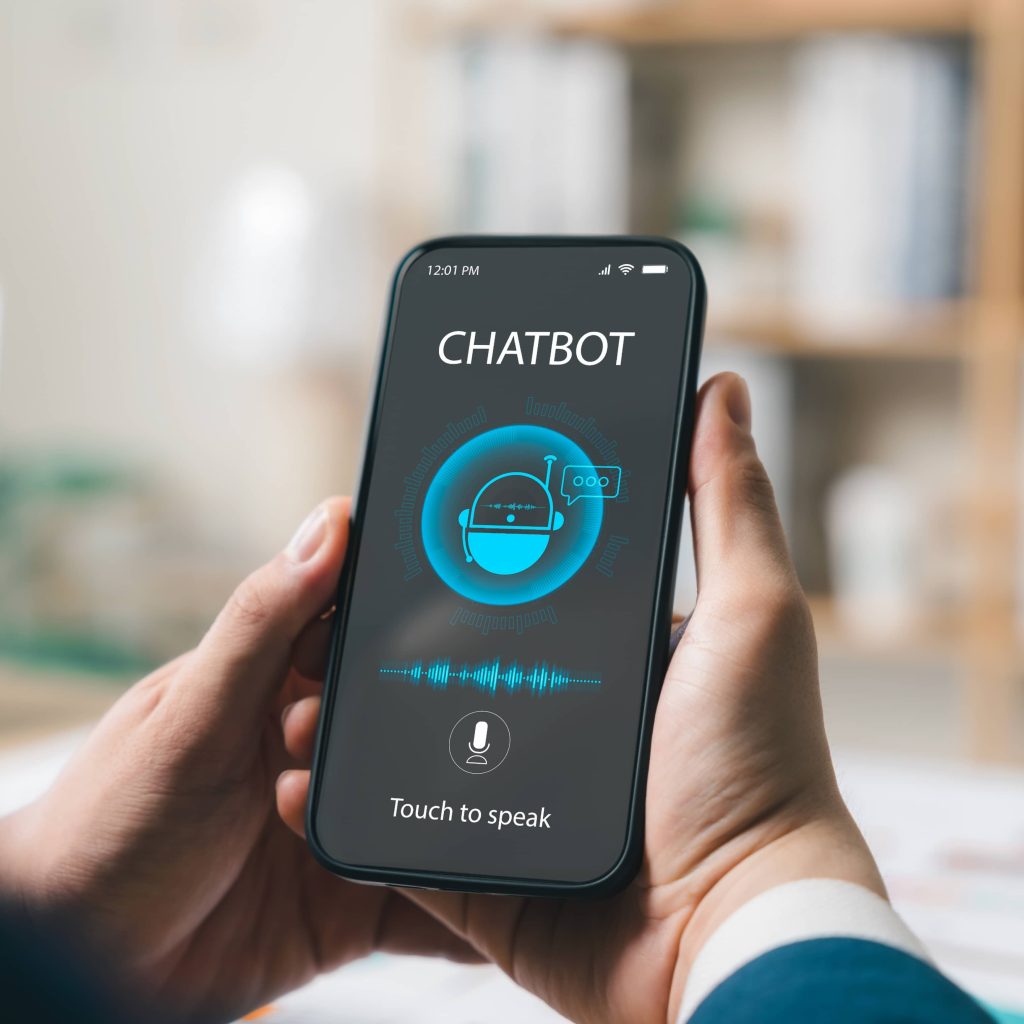
How to Create a Chatbot to Fit Your Needs and Budget
R&D

How to Build an NLP Engine that Won’t Screw up
R&D

How to Orchestrate and Automate Your Enterprise for Efficiency
R&D
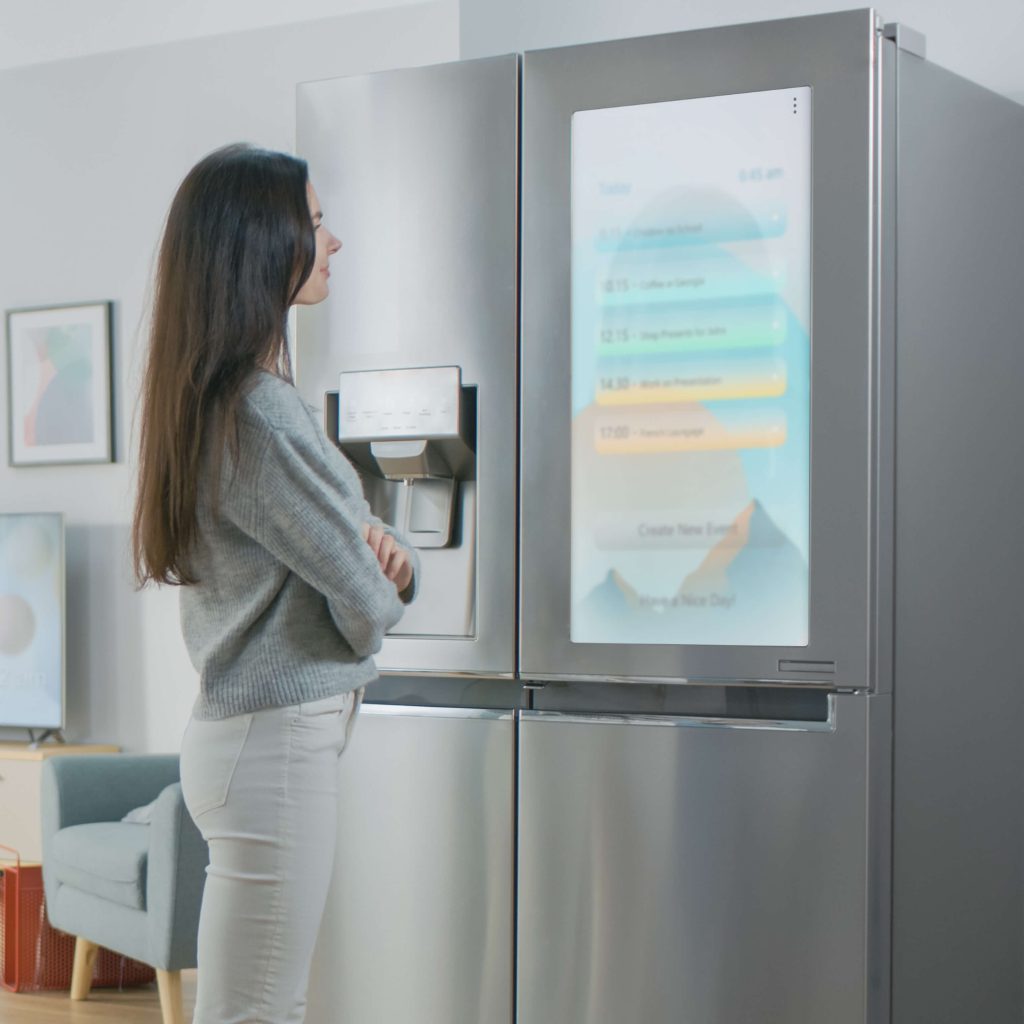
Experimenting with Intelligent Apps: Our Voice-Controlled Shopping Assistant for Smart Fridge
R&D

How to Put Your Geospatial Data to Work with ELEKS’ GIS Platform
R&D

Using Predictive Analytics to Drive Consistent Workforce Decisions
R&D
How Mixed Reality HoloLens User Experience Can Make Life Easier for Retailers
R&D

Fashion and Technology: How Deep Learning Can Create an Added Value in Retail
R&D
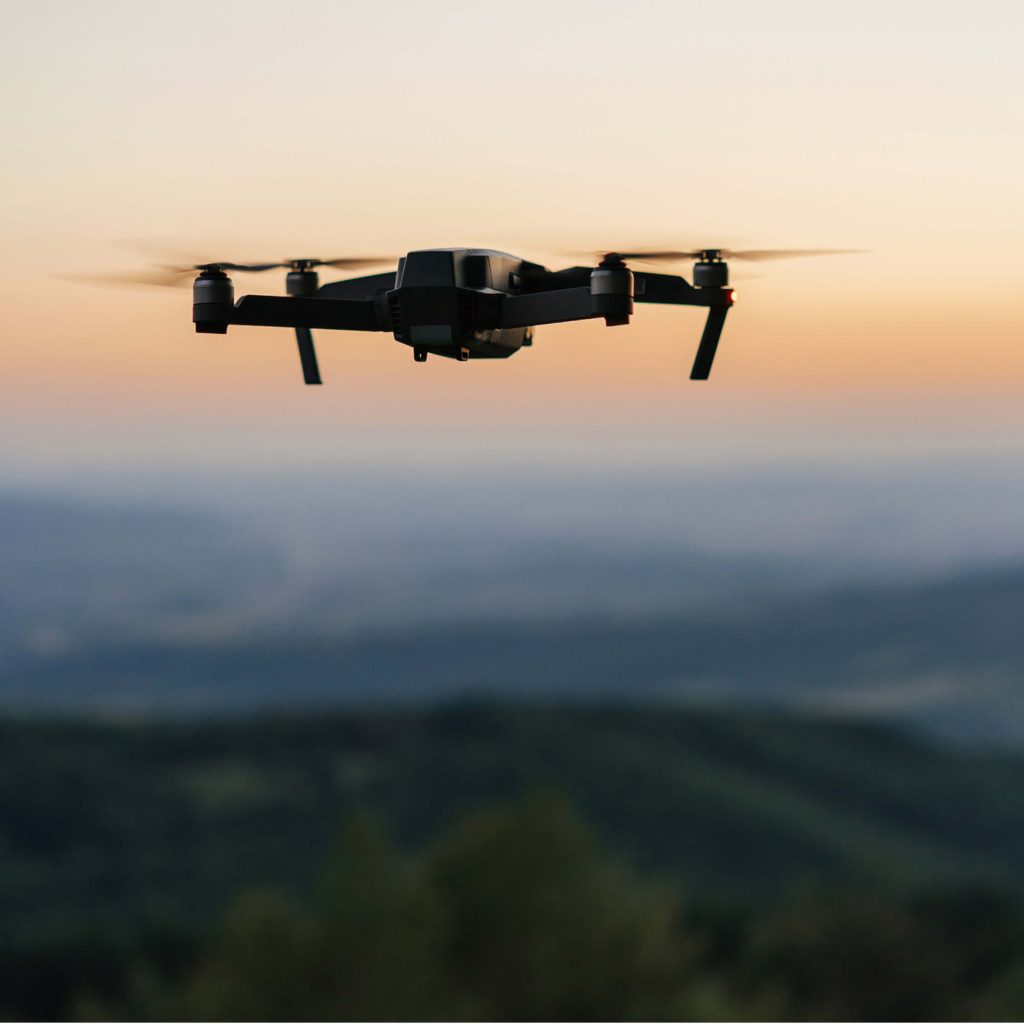
IoT and Drones: Akka in the Cloud, and up in the Clouds, Literally
R&D

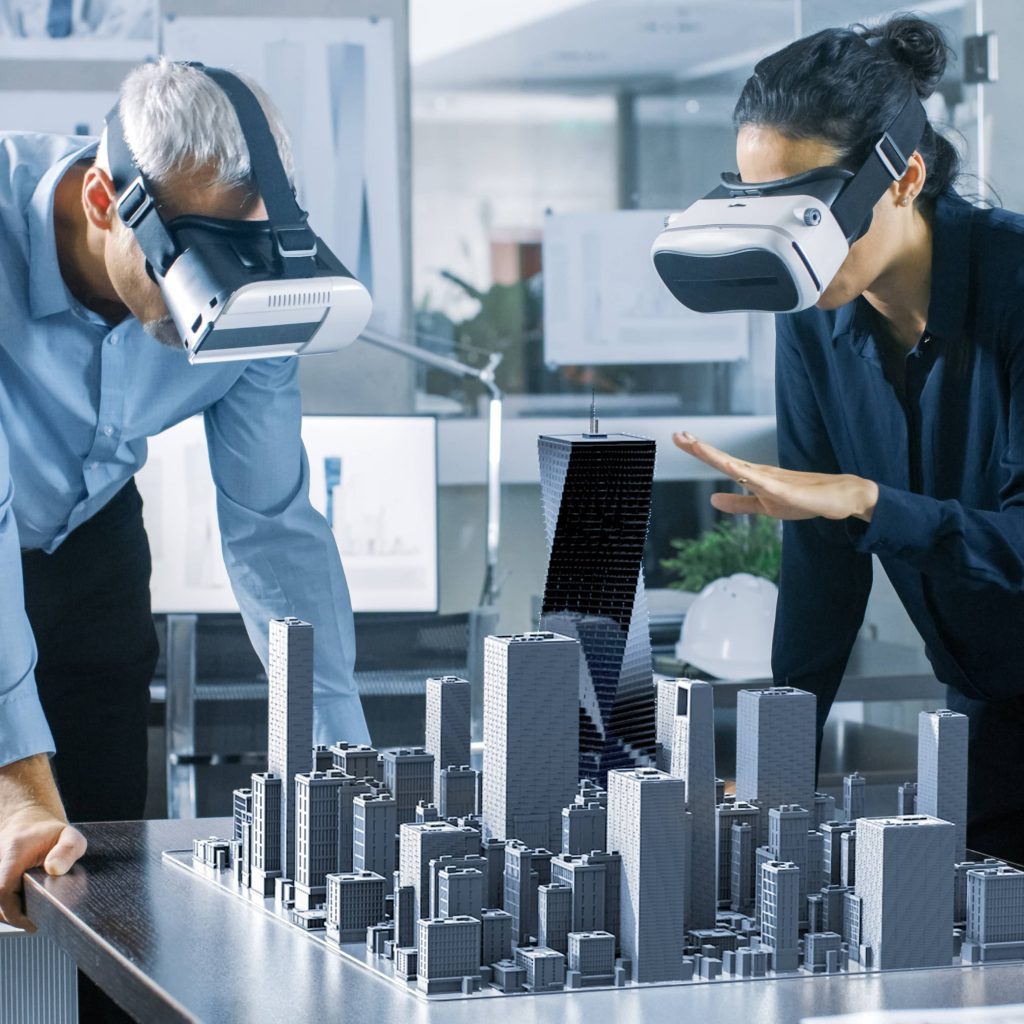
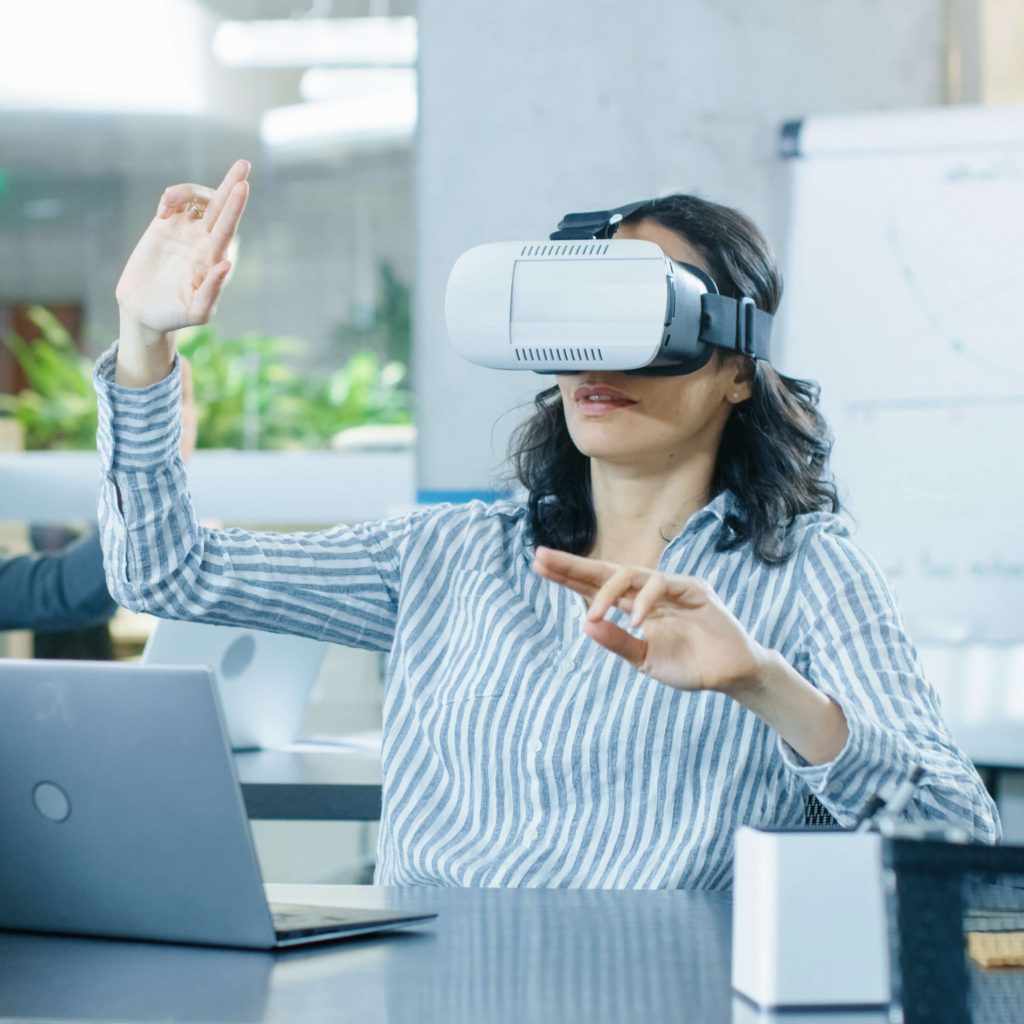
Why Businesses Should Focus on Virtual Reality: Practical Use Cases
R&D

Measuring Project Success with Business Intelligence Dashboard
R&D

How We Combined Different Methods to Create Advanced Time Series Prediction
R&D

How We Created a Bot Assistant Facilitating Website Search
R&D

What Deep Machine Learning Can Offer to Businesses
R&D

Data Science in Action: Unlocking the Power of Recommender Systems
R&D

How Technology Enables Power System Stability
R&D
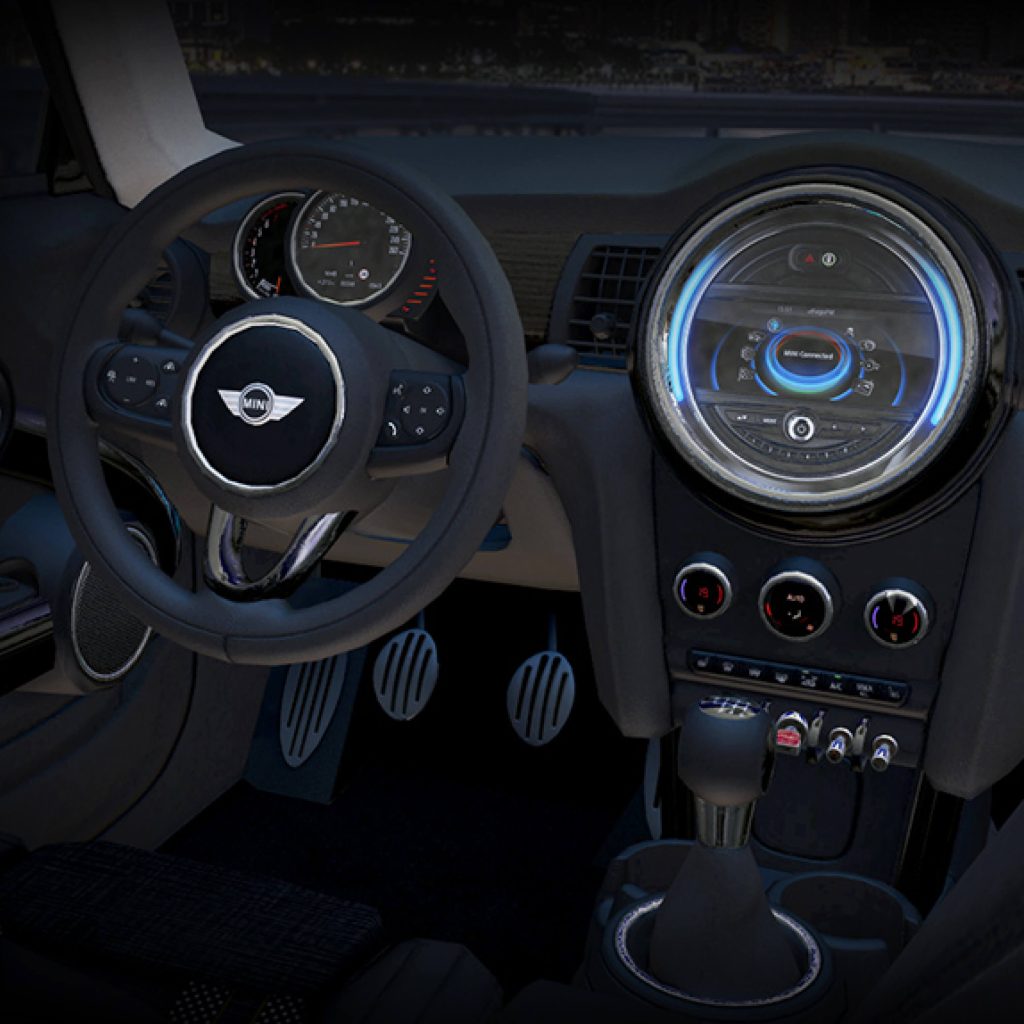
How we Combined 3D, Mobile Web and Virtual Reality to Explore Car Interiors Online
R&D
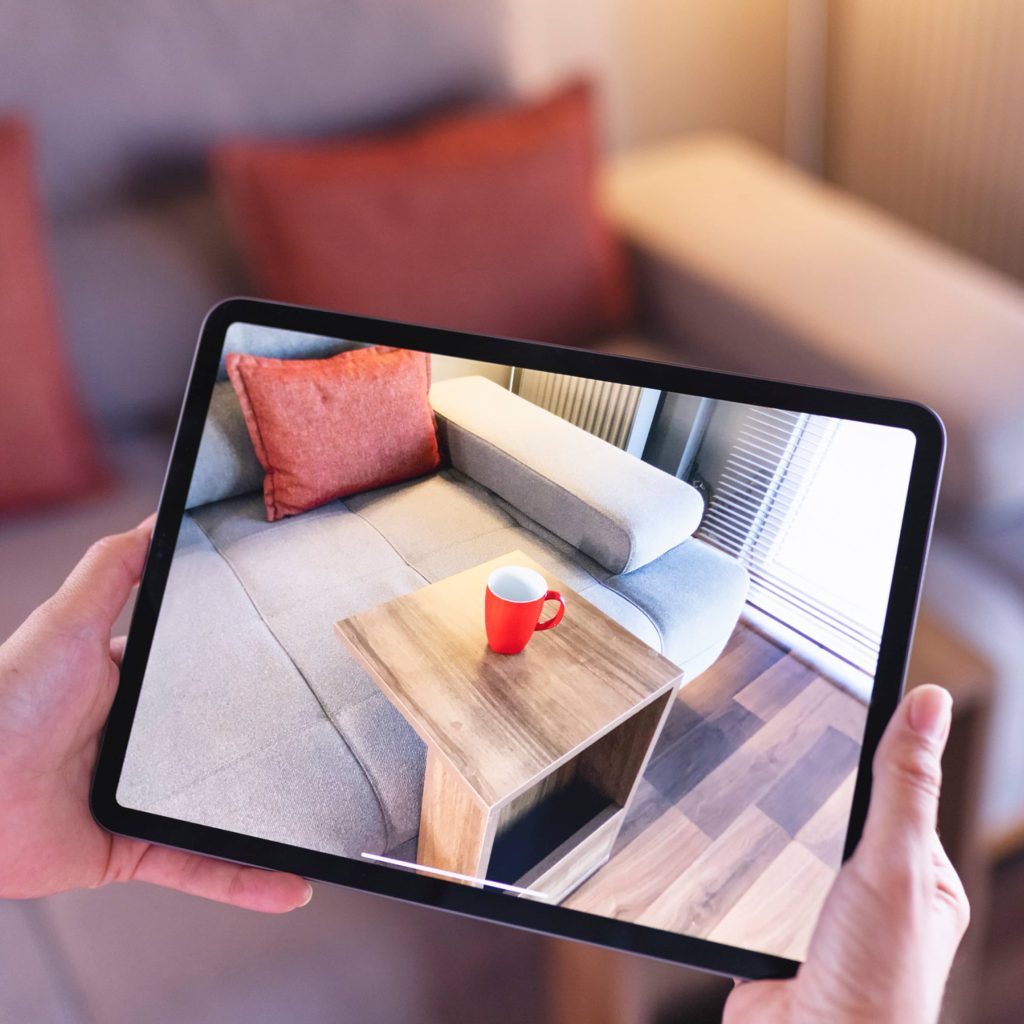
Web-Based Augmented Reality: To Adopt or Not to Adopt?
R&D

How We Created Back2Pack, Our Holiday VR Game
R&D
The Force is Strong with Sphero and Apple Watch
R&D
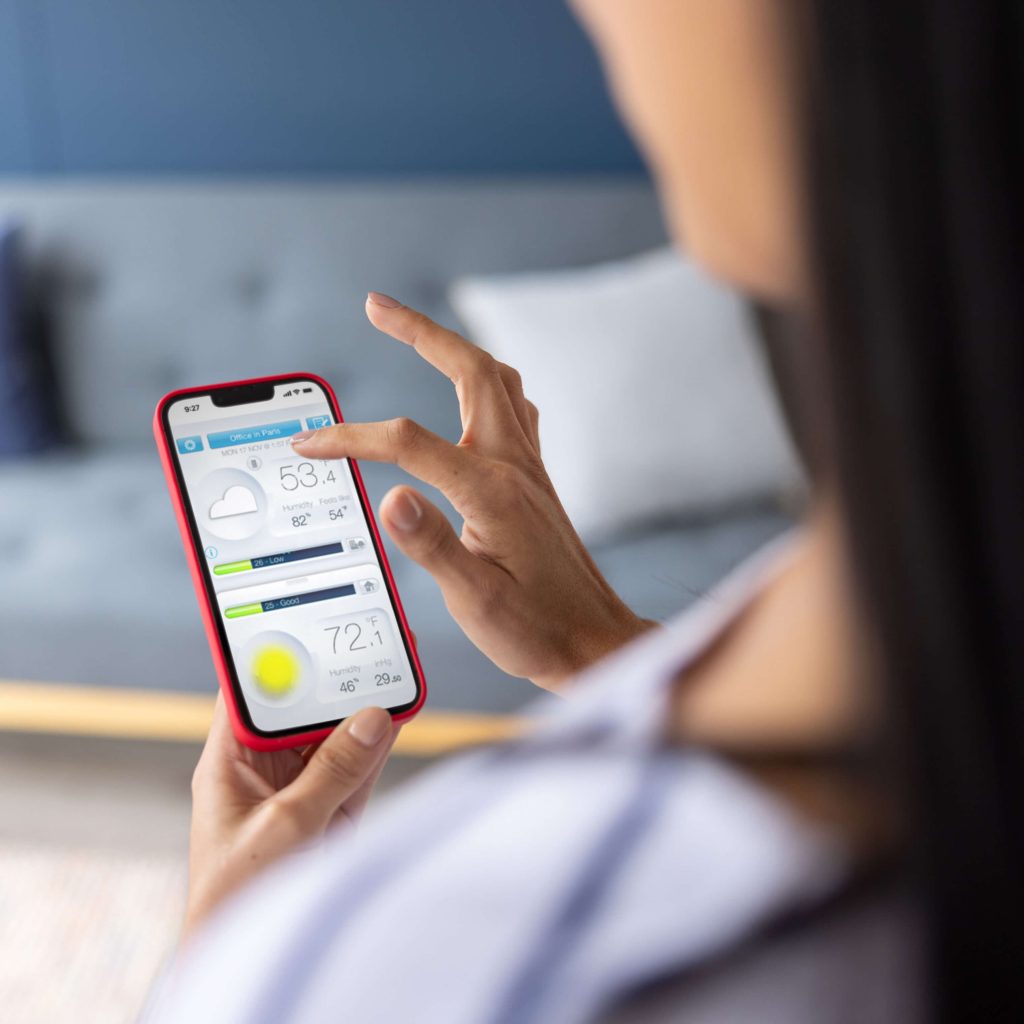
How to Build a Smart House Controller Using Raspberry PI 2, MS Windows 10 IoT and Netatmo API
R&D

Building Ranorex Framework with Visual Studio
R&D

Awaken the Force with Kinect and Sphero
R&D
Nearables Wearables: Connecting Beacons with Smartwatches for Indoor Positioning
R&D

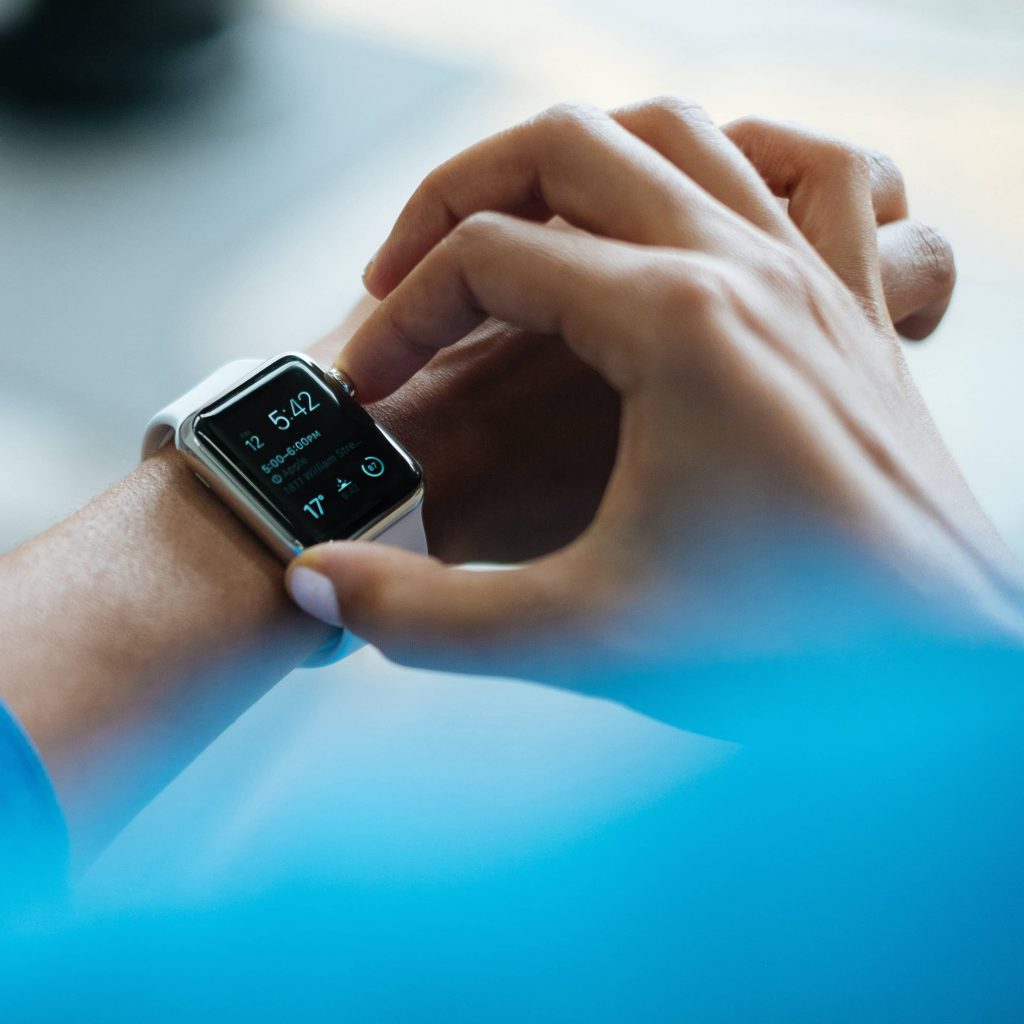
Smartwatch Killer Feature Found: Watch Face
R&D

Data Science for Targeted Advertising: How to Display Relevant Ads by Leveraging Past User Behavior
R&D

How we Made a Killer Behance Portfolio Review with Microsoft Kinect
R&D
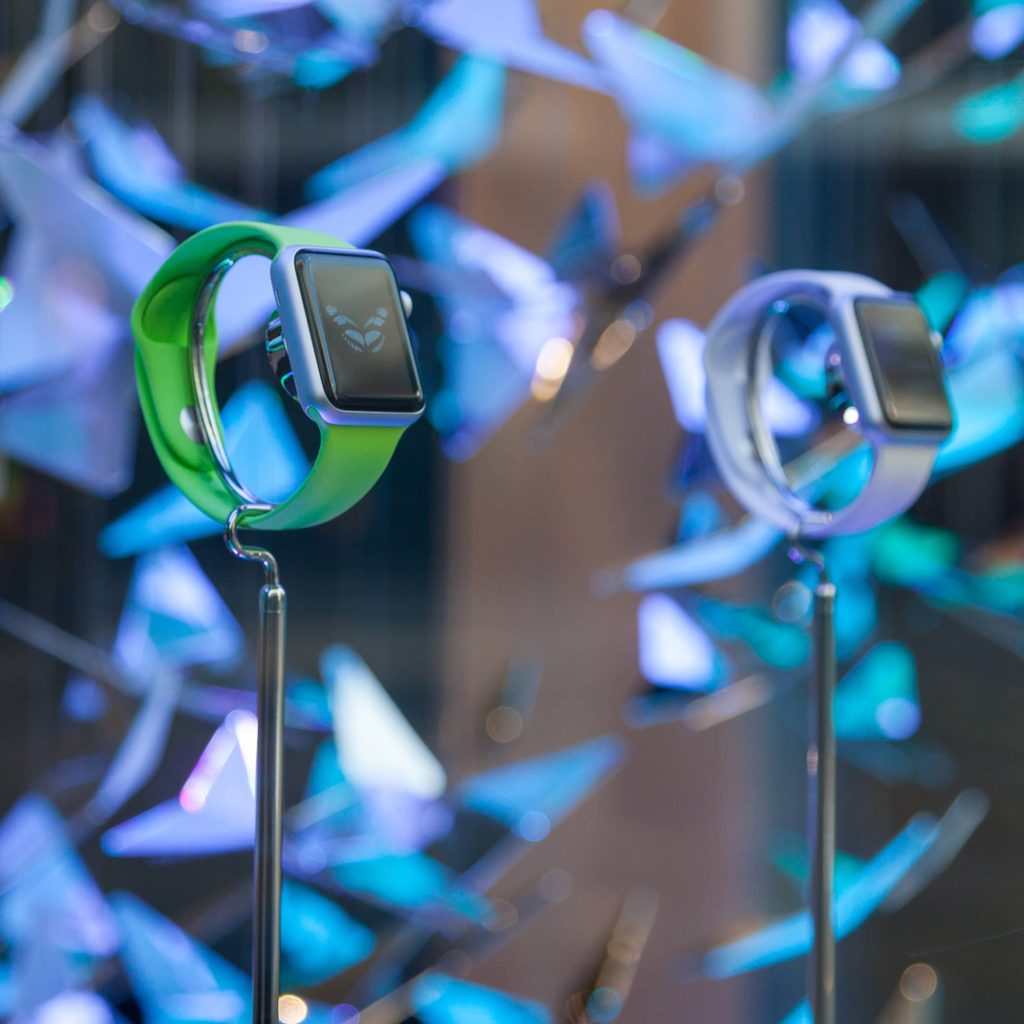
New Research on Wearables Featuring ELEKS
R&D
Back2Pack: Christmas Virtual Reality Game by ELEKS
R&D
Apple Watch vs Android Wear. Time to Drive Tesla Further
R&D

Apple Watch. Tesla Car. How Far Can We Drive Them?
R&D

Google Glass in Warehouse Automation
R&D
How to Connect Tesla with Google Glass
R&D

Why Google Glass Will Fail and Why This Won’t Stop Smart Glasses’ Success
R&D